Did you know that nearly 40% of campers experience spoiled food due to improper cooler packing? To avoid being part of that statistic, you’ll need to master the art of food storage and ice management in your cooler. Understanding the right techniques can mean the difference between enjoying fresh meals and dealing with soggy, unappetizing leftovers. Let’s explore how to pack your cooler efficiently for your next outdoor adventure.
Choosing the Right Cooler for Your Needs
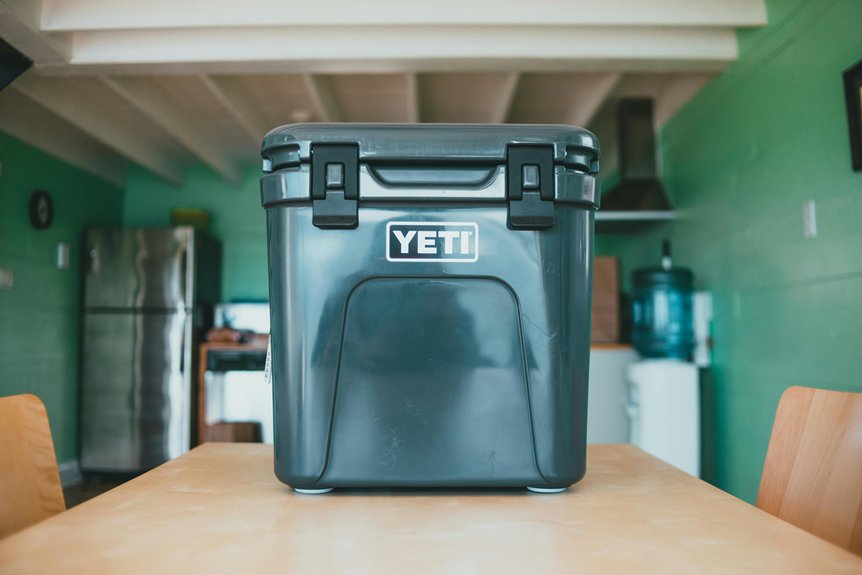
When it comes to choosing the right cooler for your camping adventure, you’ll want to take into account a few key factors to guarantee it meets your needs.
First, consider the size; think about how much food and drink you’ll bring and how many people you’ll be serving. A cooler too small can lead to spoiled items, while one too large may be cumbersome.
Next, evaluate insulation quality; thicker insulation keeps items colder for longer.
Also, look for features like sturdy handles and drainage plugs for easier transport and cleaning.
Finally, think about your budget—there are great options at various price points, so you can find a cooler that fits your requirements without breaking the bank.
Pre-Chilling Your Cooler
To guarantee your cooler performs at its best during your camping trip, pre-chilling it’s an essential step you shouldn’t overlook.
Start by placing your cooler in a cool area, away from direct sunlight, a day or two before your departure. Fill it with ice or ice packs, letting it chill for several hours. This process lowers the internal temperature, ensuring your food and drinks stay cold longer once packed.
Before loading your items, remove the ice and wipe out any excess water. You can also consider chilling your food and drinks in the refrigerator beforehand.
Selecting the Best Ice Types
Choosing the right type of ice can considerably impact how well your cooler keeps items cold during your camping trip.
For ideal results, consider using block ice instead of cubes. Block ice melts slower, providing longer-lasting cooling power.
If you prefer convenience, reusable ice packs are a great alternative, as they’re designed to stay cold longer without creating a watery mess.
You can also mix ice types; use block ice as the base and fill gaps with ice cubes or packs for quick chilling.
If you’re in a pinch, frozen water bottles can work too—they’ll keep your drinks cold and double as hydration later.
Selecting the best ice types guarantees your food stays fresh and your drinks stay chilled throughout your adventure.
Layering Techniques for Optimal Cooling
After selecting the right ice types, effective layering techniques can greatly enhance your cooler’s performance.
Start by placing a layer of ice or ice packs at the bottom of your cooler. This creates a cold base that helps maintain temperatures. Next, add your perishable items like meats and dairy, ensuring they’re tightly sealed to avoid leaks.
Follow this with another layer of ice to keep everything chilled. For non-perishables, consider placing them on top, as they don’t need as much cooling.
Finally, use a towel or cloth to cover the top layer of ice, which helps trap the cold air. Remember, keeping your cooler closed as much as possible is key to maintaining ideal temperatures during your camping trip!
Packing Food Strategically
Packing your food strategically can make a significant difference in how well your cooler performs during your camping trip.
Start by placing heavier items like drinks at the bottom, as they help maintain a stable base. Use lightweight, perishable foods, such as fruits and veggies, in the middle layer, keeping them insulated but easily accessible.
Reserve the top layer for frequently used items like sandwiches or snacks—this minimizes exposure to warm air when you open the cooler.
To maximize space, pack food in airtight containers to prevent spills and maintain freshness.
Finally, consider grouping similar items together for quick access.
Utilizing Insulated Bags and Containers
When you’re preparing for a camping trip, incorporating insulated bags and containers can greatly enhance your food preservation efforts.
These bags create a barrier against heat, keeping your perishables fresh longer. Opt for high-quality insulated bags that are easy to pack and carry. Use them for items like deli meats, cheeses, or pre-prepared meals.
Additionally, utilize smaller containers for snacks, fruits, and veggies to minimize air exposure. Always pack your insulated bags with ice packs or frozen water bottles to maintain a cool temperature.
Remember to seal them tightly to prevent any leakage. By using insulated bags and containers, you’ll not only maximize your cooler space but also guarantee your food stays delicious and safe throughout your camping adventure.
Keeping Drinks Separate From Food
To guarantee your food stays fresh and your drinks remain cold, keeping them separate in your cooler is a smart strategy.
Start by designating one section of your cooler for drinks and another for food. This prevents spills that can contaminate your meals and keeps the food from being squished by heavier items.
Use a separate insulated bag or container for drinks, ensuring easy access when you’re thirsty. Place cans and bottles upright to avoid leaks, and consider adding extra ice around the drink container to keep them chilled.
Managing Ice Meltdown and Water
How do you keep your cooler’s contents dry while managing ice melt? The key is to create a barrier between your food and the melting ice.
Start by placing a layer of towels or cloth at the bottom of the cooler. This absorbs excess water and keeps your food from getting soggy. You can also use a small, separate container or a mesh bag for any loose items that might get wet.
Another tip is to add ice packs or frozen water bottles—these melt slower than regular ice and reduce water accumulation.
Finally, periodically drain the melted water without removing the food. By managing the ice melt effectively, you’ll keep your cooler’s contents fresh and enjoyable throughout your camping trip.
Food Safety Tips While Camping
While you’re enjoying the great outdoors, keeping your food safe is essential to prevent illness and guarantee a happy camping experience.
Start by packing perishable items like meat and dairy at the bottom of your cooler, where it’s coldest. Always keep raw meats separate to avoid cross-contamination. Use ice packs or frozen water bottles to maintain a low temperature, ideally below 40°F.
If you’re cooking, make sure to use a food thermometer to verify meats reach safe internal temperatures. Remember to wash your hands before handling food and use clean utensils.
Finally, avoid leaving food out for more than two hours, especially in warm weather. Following these tips will help keep your meals delicious and safe on your camping trip!
Cleaning and Maintaining Your Cooler
Even the best cooler needs regular cleaning and maintenance to guarantee it stays in top shape for your camping adventures.
After each trip, empty your cooler and wipe down the interior with warm, soapy water to remove spills and odors. Rinse thoroughly, then let it air dry completely to prevent mold.
For tough stains, a mixture of baking soda and water can work wonders. Don’t forget to clean the exterior, especially the handles and latches, which can collect dirt over time.
Check for any cracks or damage that could affect performance.
Finally, store your cooler in a cool, dry place when it’s not in use to prolong its lifespan.
These simple steps will keep your cooler ready for your next outdoor excursion!